Upgrading your home with new siding is a significant investment that can dramatically improve its appearance and value. However, before the siding can be installed, there are several important steps homeowners should take to prepare. This blog post will provide a comprehensive guide on how to prepare your home for siding installation, ensuring the process goes as smoothly as possible.
Understanding the Importance of Preparation
Before diving into the specifics, it’s crucial to understand why preparation is so important. Proper preparation can prevent delays, reduce the risk of damage, and ensure that the installation process is efficient and effective. Taking the time to prepare your home can also provide a safer working environment for the contractors and ensure the longevity of your siding.
The Basics of Siding Installation
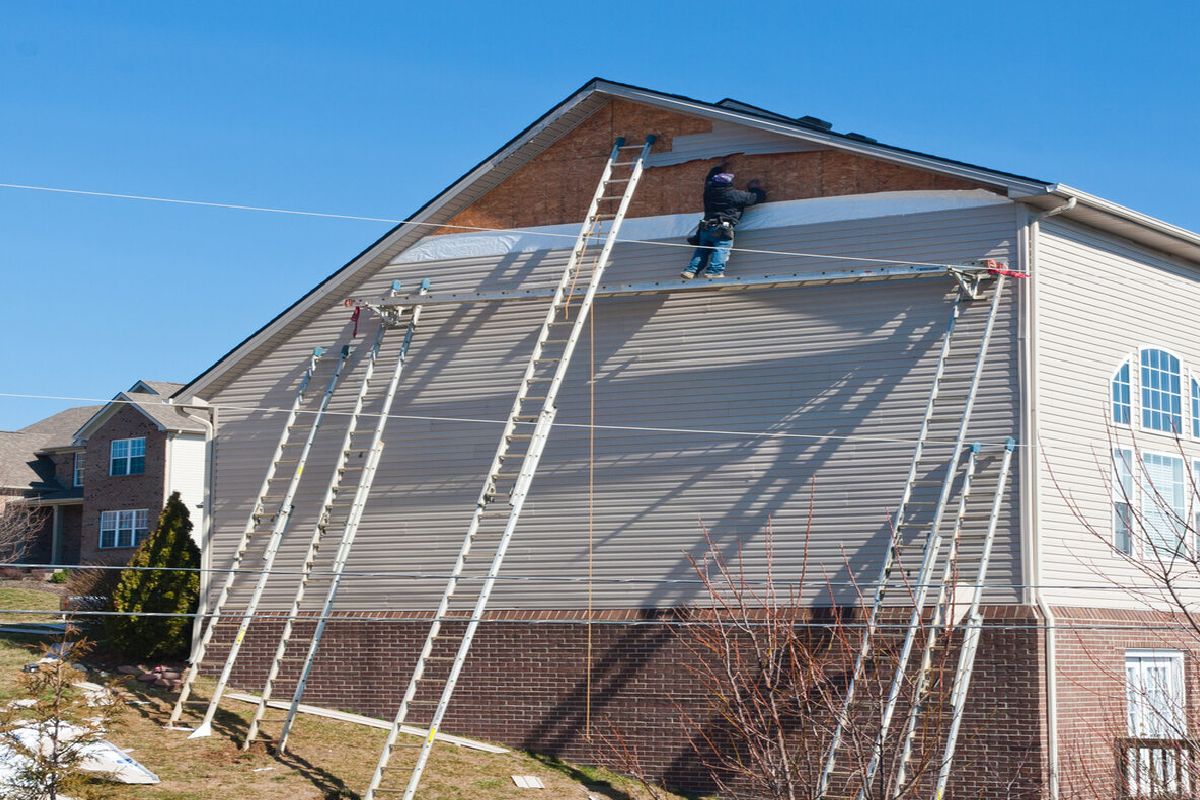
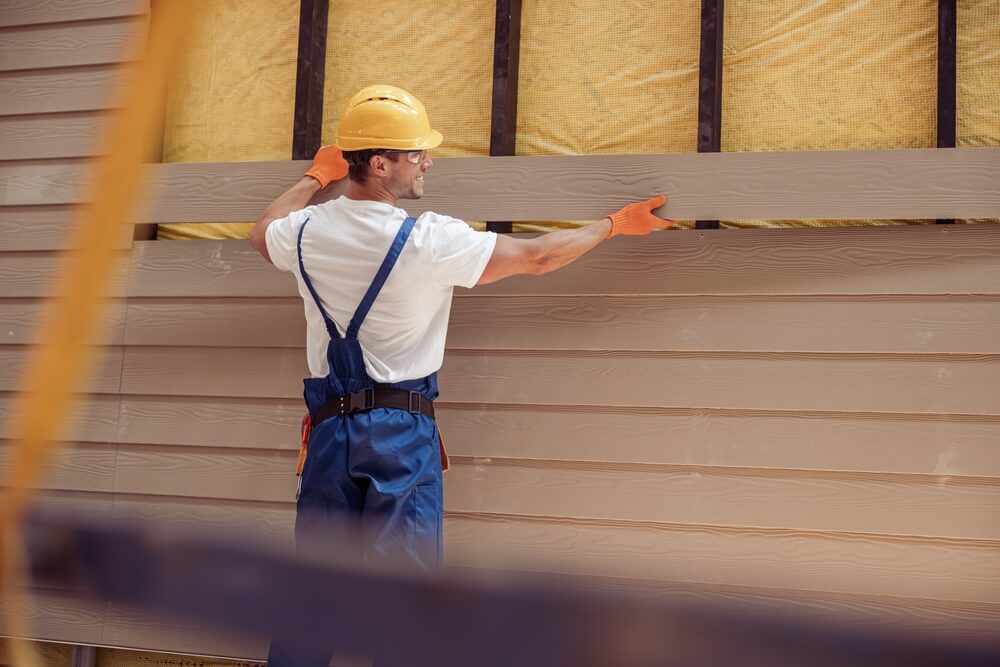
Siding installation is a complex process that involves removing old siding (if applicable), preparing the walls, and then installing the new siding. Each type of siding material requires different preparation techniques, so it’s essential to consult with your contractor about the specific needs for your chosen material.
Step 1: Clearing the Work Area
The first step in preparing your home for siding installation is to clear the area around your house. This means removing any vehicles, furniture, or other items that could obstruct access to your walls. It’s also a good idea to trim any trees or bushes that might be too close to the house.
Protecting Your Landscaping
While clearing the work area, take steps to protect your landscaping. Cover flower beds, gardens, and shrubs with tarps or protective cloth to prevent damage from falling debris or equipment.
Step 2: Securing Loose Items Inside
Siding installation involves a lot of hammering and vibration, which can cause items inside your home to shift or fall. Secure loose items such as picture frames, mirrors, and other wall hangings. It’s also wise to move fragile items away from exterior walls to a safer location.
Step 3: Preparing the Exterior Walls
If you have old siding, it will need to be removed before the new siding can be installed. Once the old siding is off, inspect the exterior walls for any damage or issues that need to be addressed, such as rot, mold, or structural concerns. Repairing these issues beforehand is crucial for the durability and effectiveness of your new siding.
Addressing Insulation and Weatherproofing
Discuss with your contractor whether any additional insulation or weatherproofing measures should be taken before the new siding is installed. This might include adding house wrap or foam board insulation to improve energy efficiency.
Step 4: Communicating with Your Contractor
Good communication with your siding contractor is essential throughout the preparation process. Make sure you understand their schedule and what they need from you. Ask about any specific preparations that are required for your chosen siding material.
Step 5: Planning for Safety and Accessibility
Ensure that the work area is safe for both the workers and your household members. Keep children and pets away from the area during the installation process. Also, plan for how the work might affect your daily routine and access to your home.
Conclusion
By following these steps to prepare your home for siding installation, you can help ensure that the project goes smoothly and is completed efficiently. Proper preparation not only facilitates a quicker installation but also helps protect your investment and guarantees that the finished product looks great and performs well for years to come. With careful planning and communication, your home will be ready for a beautiful transformation.
If you have any questions or need further assistance in preparing for your siding installation, do not hesitate to reach out to Johnson County Siding & Window today. We are always here to help with your siding needs.


